Getting your event noticed — and selling tickets successfully — doesn’t start with ads or social media. It begins with the basics: filling in your event details correctly. On ME-Ticket, this step happens right in the event constructor, and while it may seem straightforward, the way you set up your venue, poster, and description can make or break your event’s success.
This guide will walk you through the essentials of setting up your event information properly, so your audience gets all the details they need, and your event stands out from the crowd.
Choosing the Right Venue for Your Event
Before you even start selling tickets, selecting the right venue is crucial. The location should reflect your event’s theme, audience, and functional needs.

Match Venue to Audience and Theme
Think about your guests first. A children’s party in a nightclub? Doesn’t work. A business seminar at a noisy bar? Out of place. Always align your venue with the expectations of your attendees.
- Children’s events: Parks, playgrounds, or family-friendly restaurants.
- Educational events: University auditoriums, lecture halls, or libraries.
- Concerts or nightlife events: Bars, clubs, or outdoor stages.
The rule is simple: when the venue fits the theme, the event feels natural.
Check Functional Features
It’s not just about the look — it’s about usability:
- Accessibility for guests with disabilities.
- Capacity that matches your ticket sales. (Don’t sell 200 tickets to a venue with only 100 seats.)
- Technical equipment like stages, sound systems, or projectors, depending on your event type.
💡 Pro Tip: Always ask the venue for a capacity certificate before you print posters or open ticket sales.
Entering Venue Location on ME-Ticket
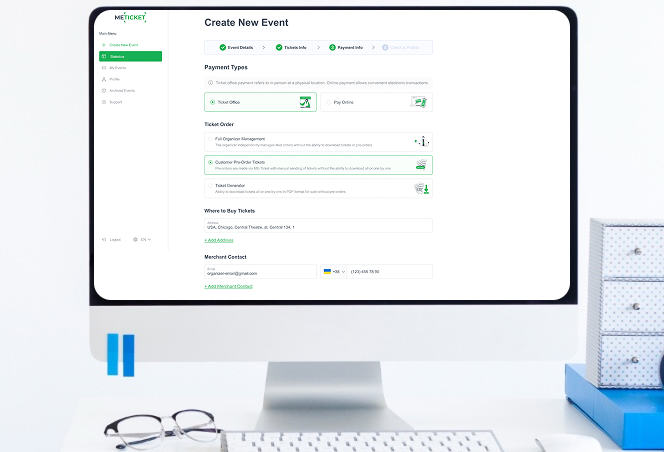
When creating your event in the ME-Ticket constructor, location details come in Step 1. Here’s what you need to fill in:
- Country: Select from ME-Ticket’s global list.
- City: Pick from the database or contact support if your city isn’t listed.
- Venue name: Be precise! Don’t just write “city center” — give the exact venue name.
- Address: Verify with Google Maps to ensure accuracy.
If your venue isn’t on the list, you can add it manually. This ensures it appears correctly on both your event page and tickets.
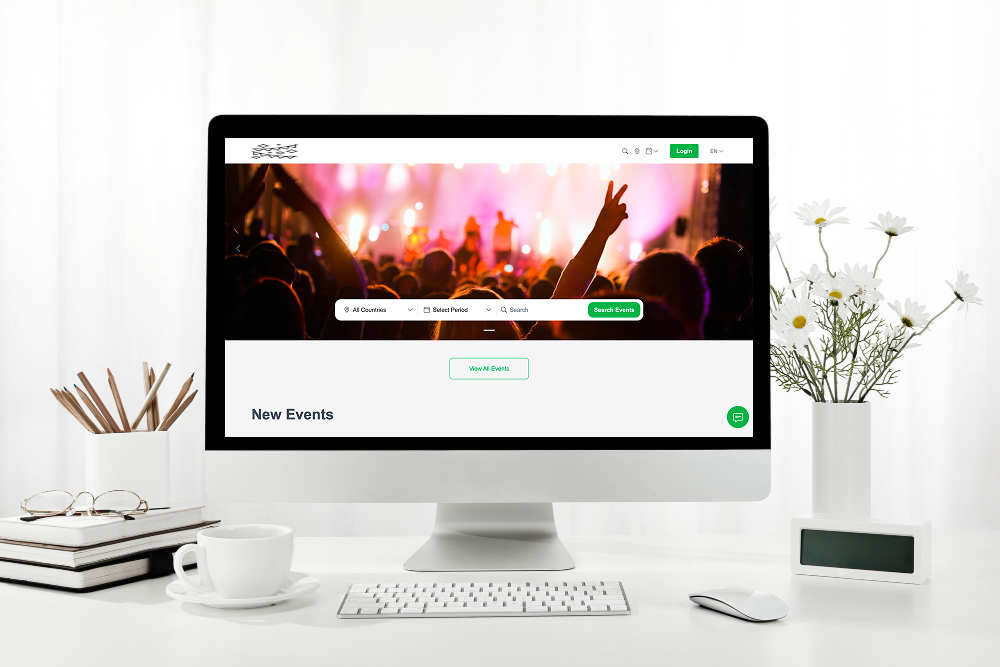
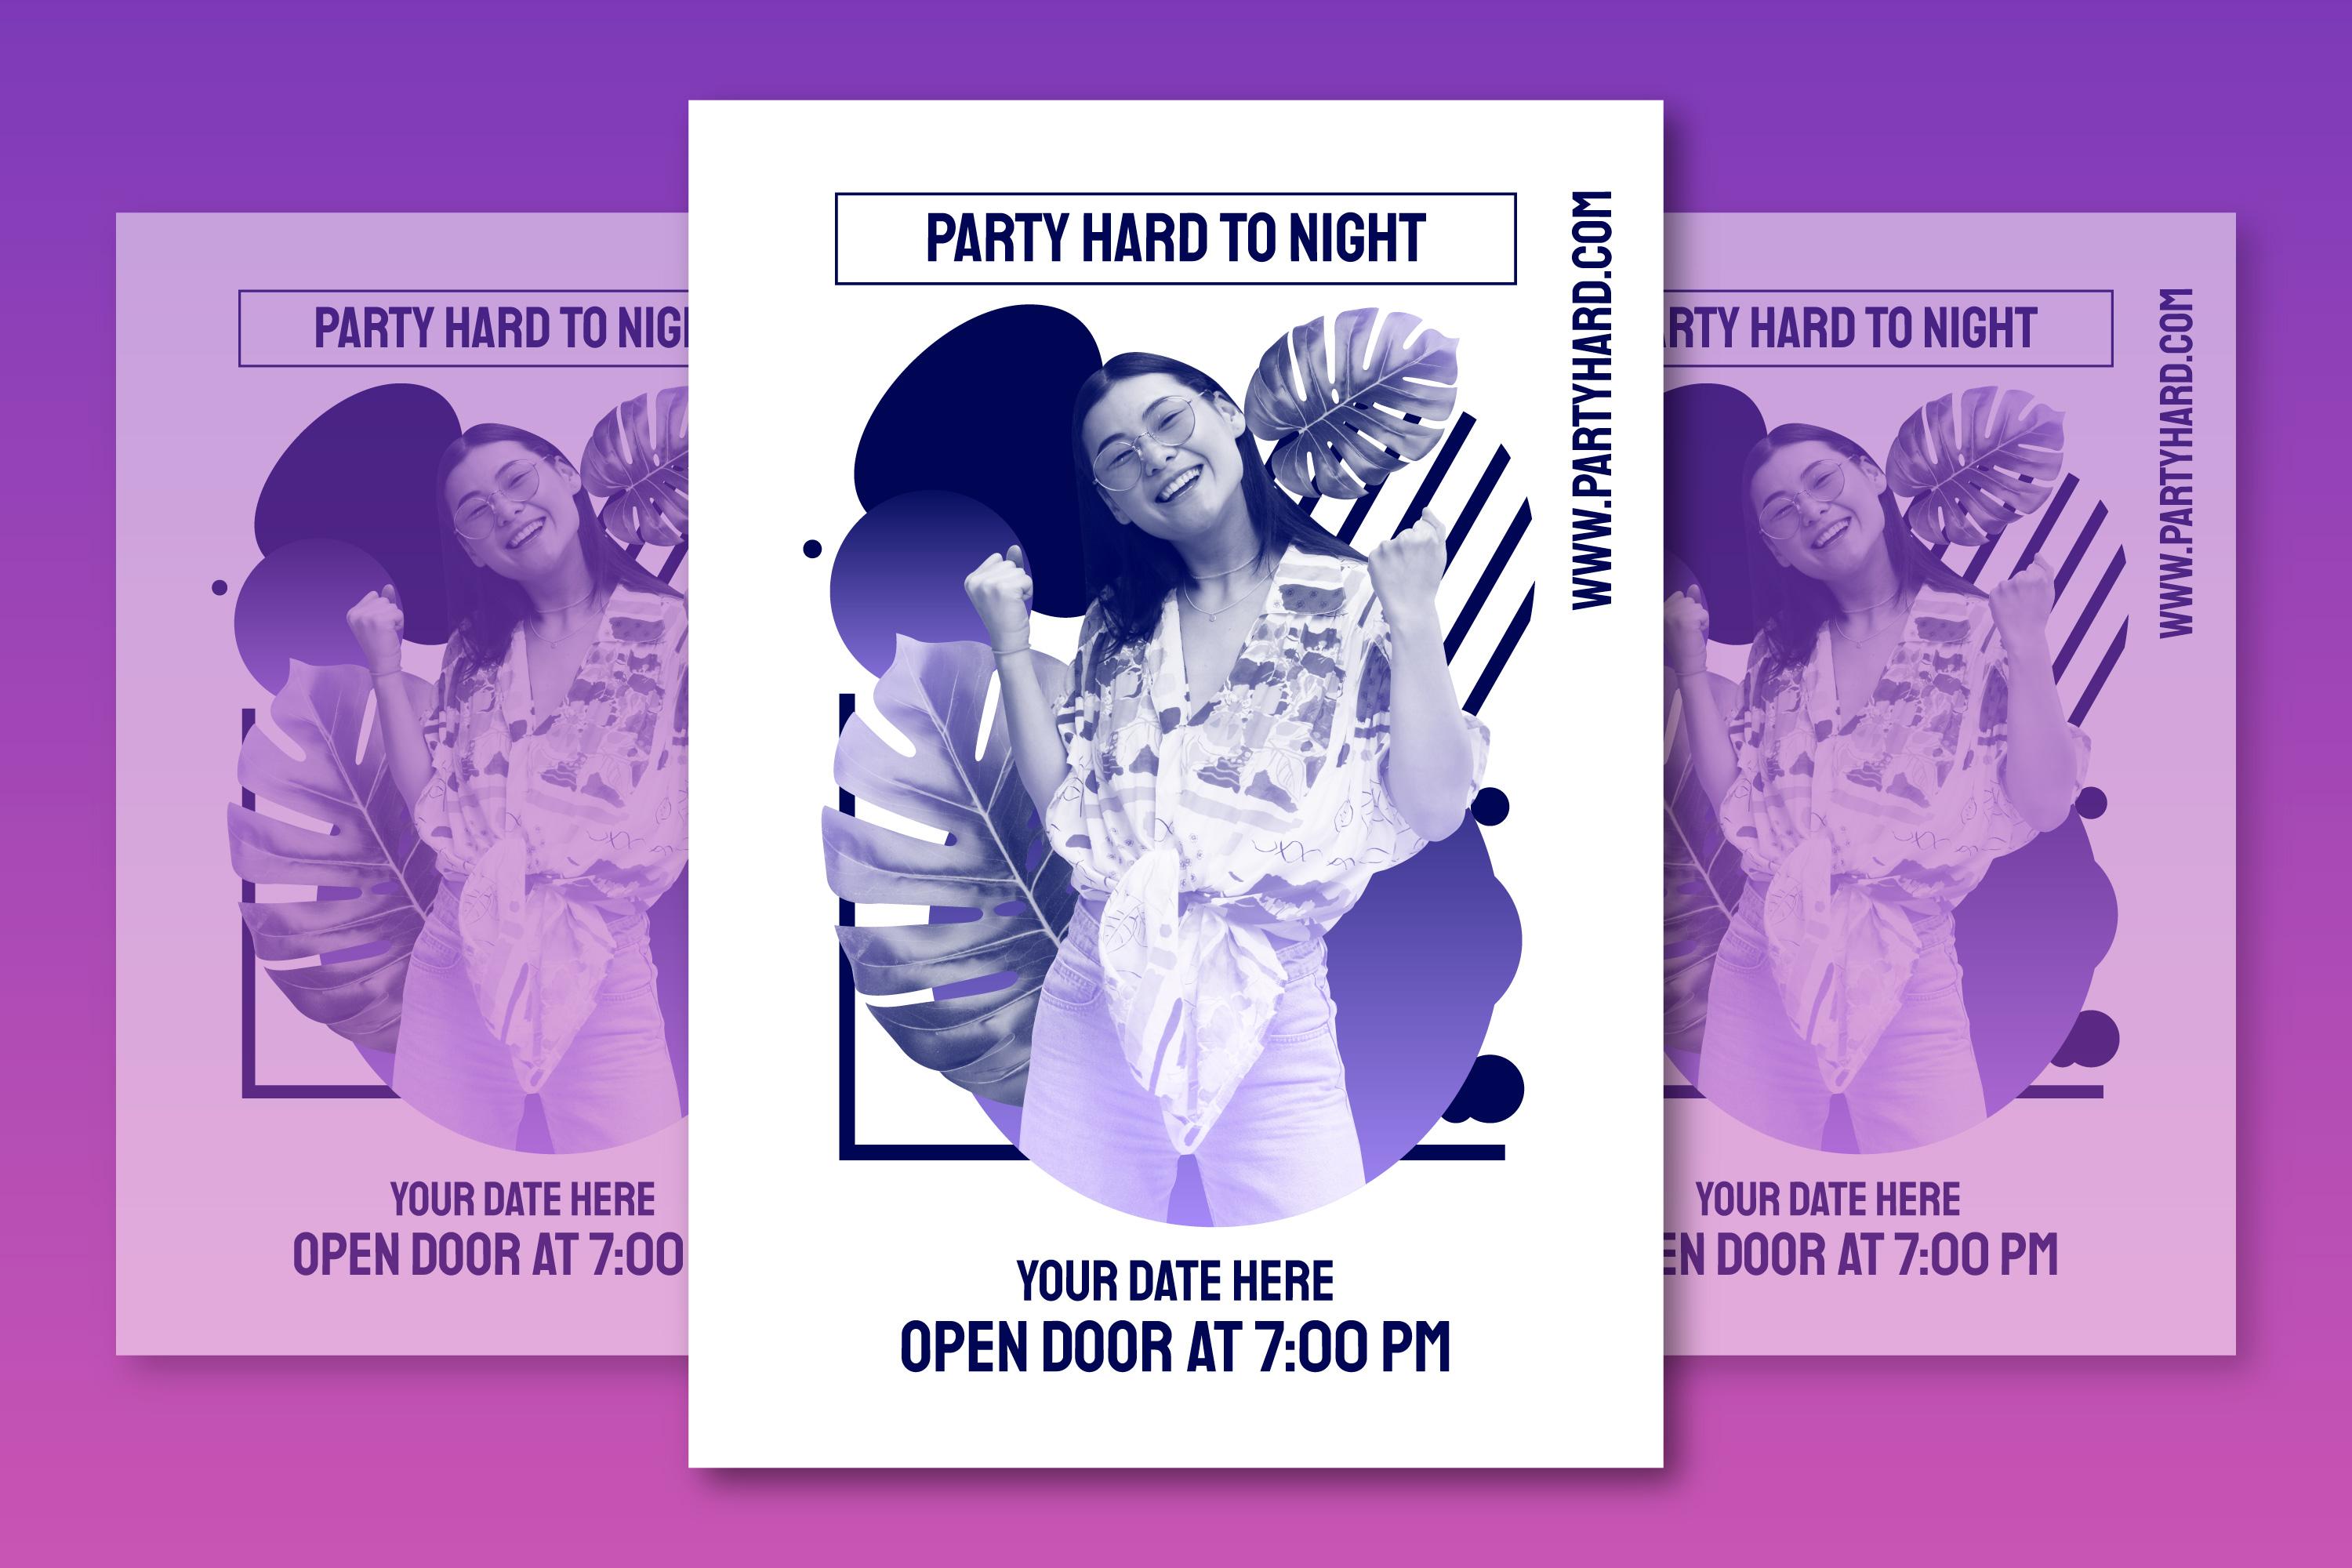
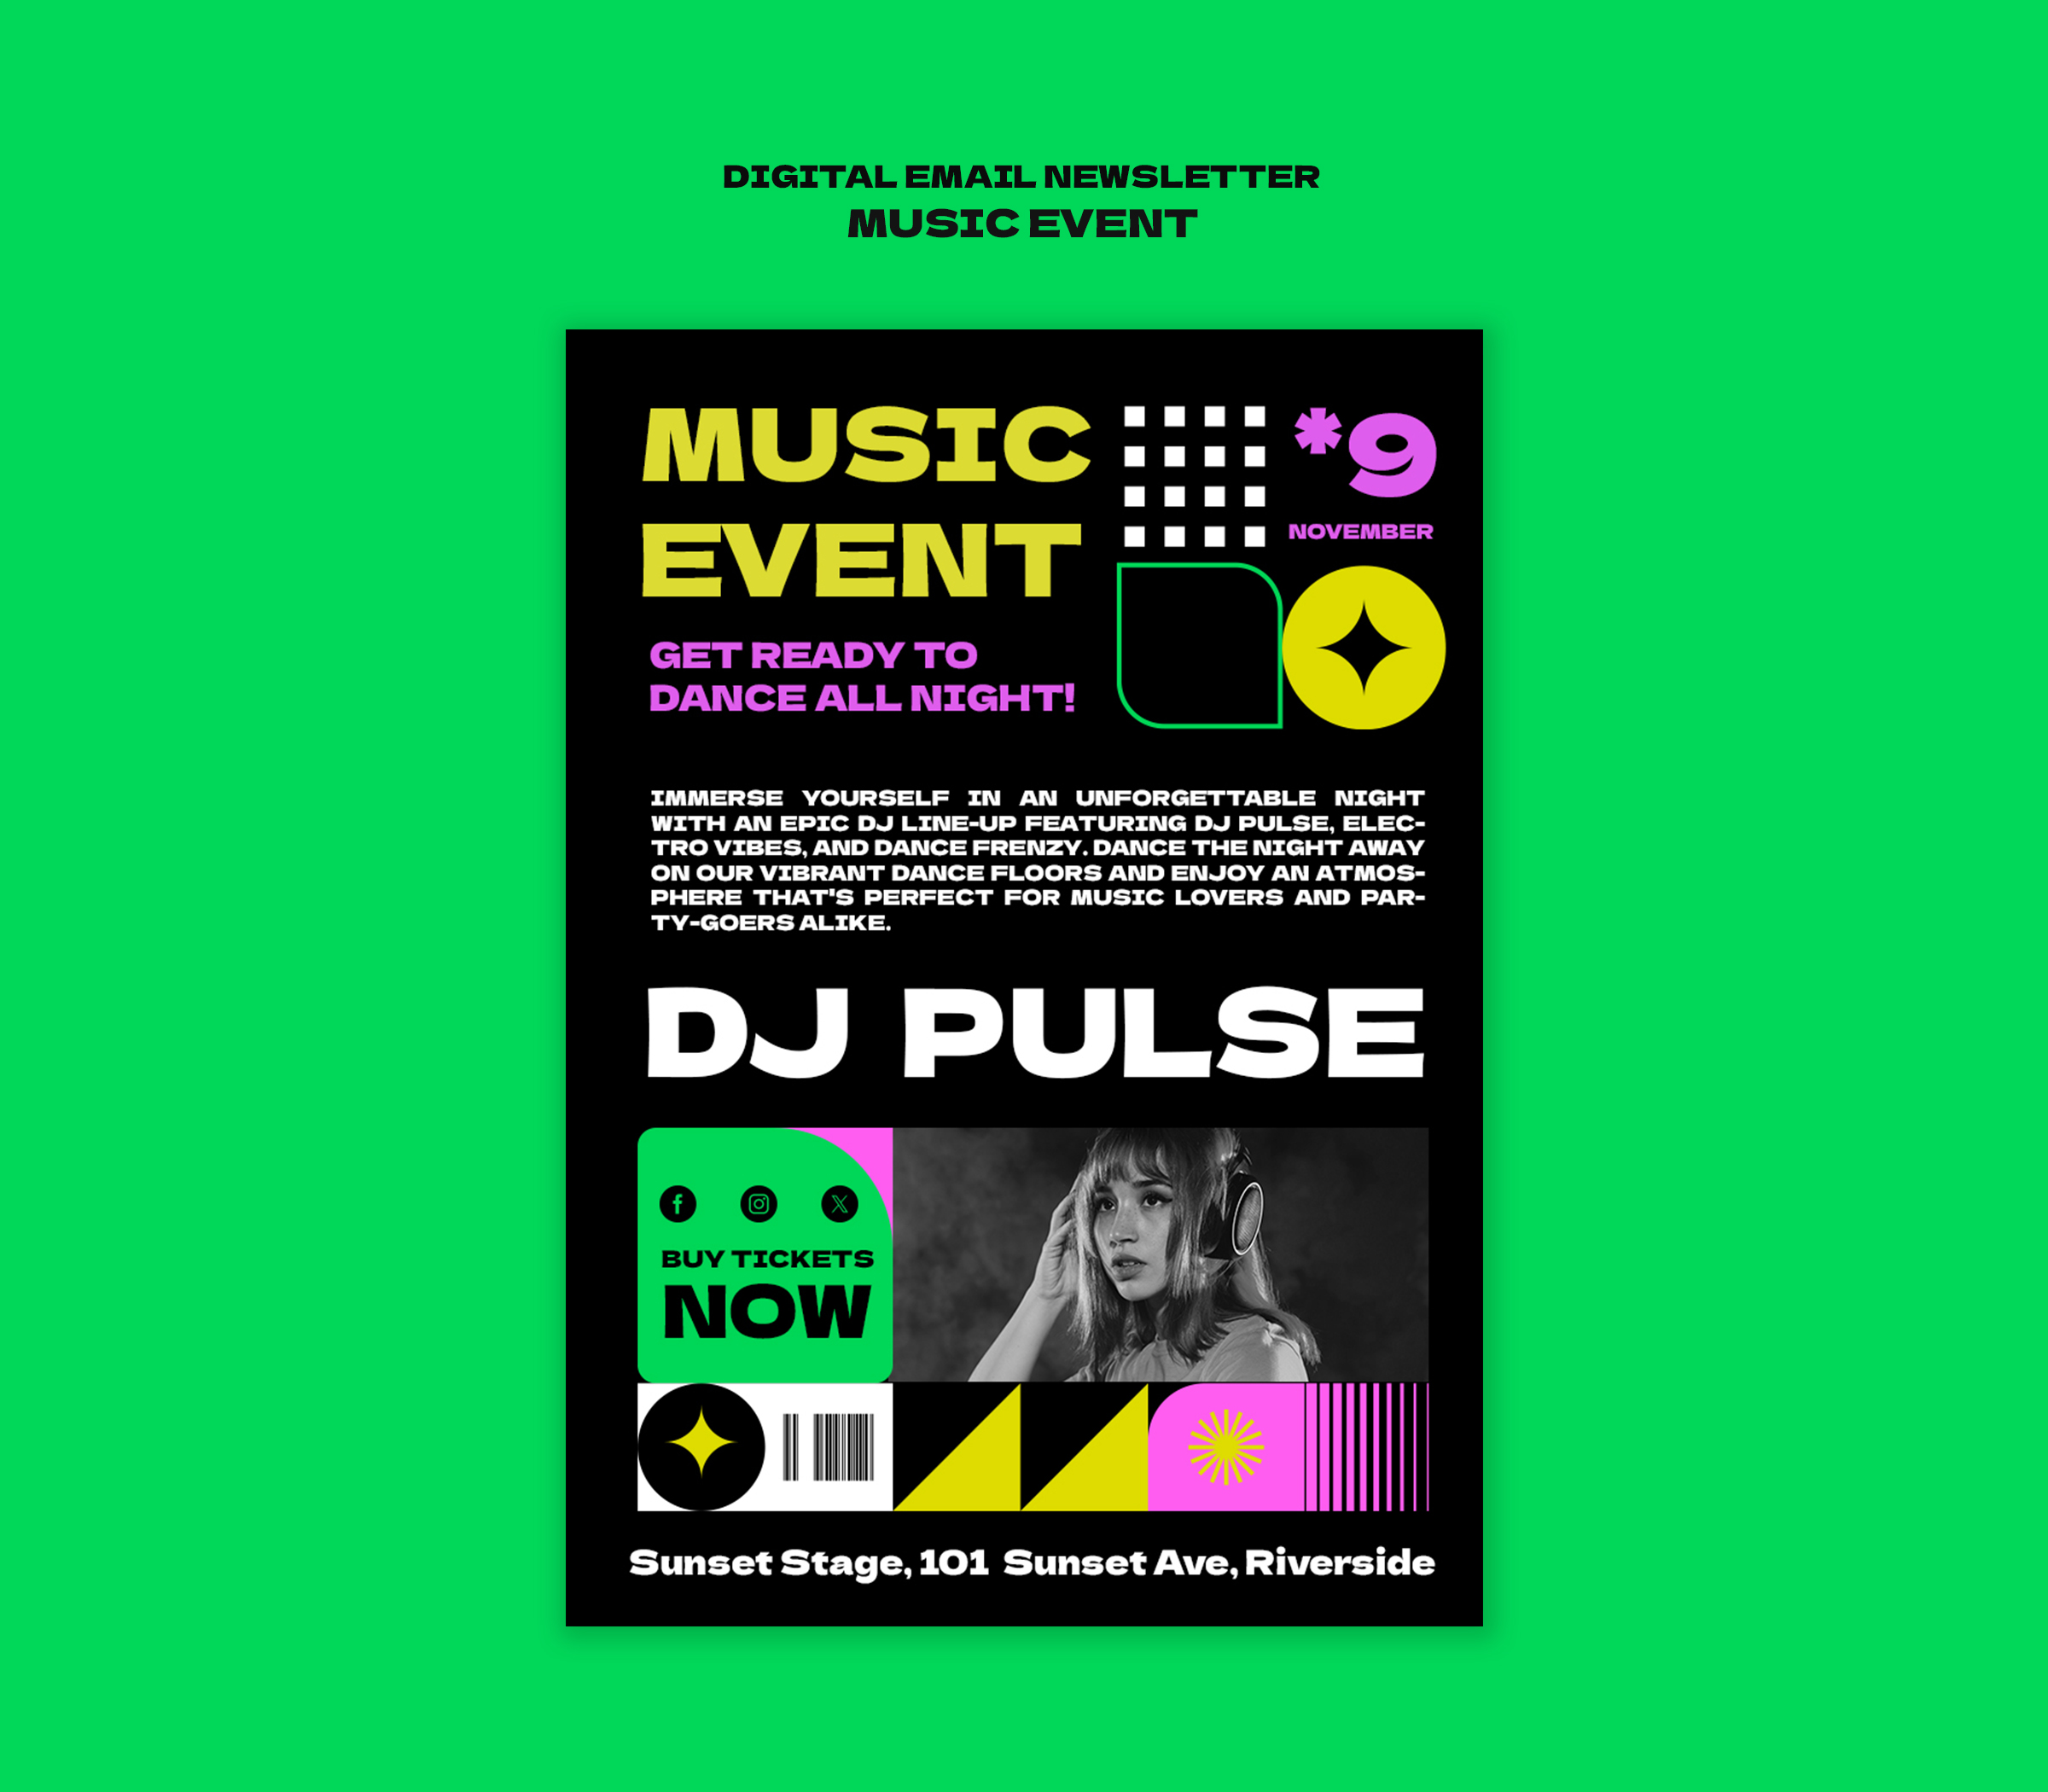
Creating the Perfect Event Poster
Your poster is your first impression — it’s the visual handshake between you and potential attendees. On ME-Ticket, you upload this in Step 1 of event setup.
Match Poster Design to Event Theme
- Nightlife events: Use vibrant, dynamic images like dancing crowds.
- Children’s events: Illustrations, cartoon characters, or bright colors.
- Corporate or educational events: Clean, professional layouts with logos or speaker photos.
And remember: keep it simple. Too much text or cluttered visuals can scare people away.
Poster Content Must-Haves
At minimum, your poster should clearly show:
- Event name.
- Venue name and address.
- Date and time.
Optional (but powerful) additions: Ticket price, Names or photos of performers/speakers.
Technical Requirements on ME-Ticket
For your poster to be approved and displayed correctly:
- Formats: JPG, PNG, or WEBP.
- File size: Up to 5 MB.
- Recommended size: 2160 × 1080 px (3:4 ratio).
- Information must match your event page details.
💡 Pro Tip: A professional-looking poster not only attracts attention but also improves how your event appears in ME-Ticket’s search results.
Writing an Effective Event Description
Once your visuals have drawn people in, your event description seals the deal. A weak description can undo all the hard work of your poster and venue choice.
What to Include in Your Description
- Performers or speakers: Highlight achievements of key guests.
- Activities: Paint a picture of what attendees will experience.
- Dress code: Mention if there’s a specific requirement.
A good description is like a movie trailer — enough to excite, not enough to bore.
Tips for Strong Copywriting
- Aim for at least 500 characters to give depth, even if the minimum is 100.
- Keep it clear and concise — no filler or jargon.
- Use emojis sparingly. They’re okay for casual events but might look unprofessional in formal contexts.
- Avoid excessively long texts that overwhelm readers.
💡 Pro Tip: If copywriting isn’t your strength, consider outsourcing or using AI tools for a polished result.
Moderation Rules on ME-Ticket
Every event is reviewed before going live. Descriptions containing profanity, offensive content, or misinformation will be rejected. Keep it professional, friendly, and accurate.
Setting Up Online Ticket Payments
Once your event details are in place, it’s time to handle one of the most important parts: getting paid. On ME-Ticket, online ticket payments are processed securely through Stripe, one of the world’s most trusted payment platforms.
Connecting Your Stripe Account
If Stripe operates in your country (46 countries are currently supported), you can link your own account directly to ME-Ticket. The setup is quick and only takes a few steps:
1. Select Stripe during payment setup.
2. Enter your email and country.
3. Complete verification by providing:
- Type of business (individual or company).
- Contact details (phone, address, etc.).
- Business description (field of activity).
Once connected, all ticket proceeds will go straight into your Stripe account after successful sales.
Important Notes on Fees
Stripe applies a small transaction fee to each online payment: 3.5% + £0.25 per transaction. This is automatically calculated and shown to buyers at checkout, so the process is transparent from start to finish.
Bank Account Information
To receive payouts from Stripe, you’ll need to provide your bank account details. Make sure you have:
- Currency
- Country of the bank account
- Account holder’s name
- Account number in international IBAN format
💡 Pro Tip: Always double-check your banking details before saving them in your account. Even small errors can delay payouts.

Offline Payments (“Ticket Office”)
Prefer handling sales in cash or directly with attendees? The “Ticket Office” option lets you do just that.
- Attendees see your contact info and where to buy tickets offline.
- Keep in mind: QR-coded tickets and real-time sales tracking aren’t available with this method.

Why Getting the Basics Right Matters
Some organizers think these steps are “just admin work.” But in reality, these are your event’s first impression. Visitors decide in seconds whether to buy tickets, and details like a mismatched venue, unclear poster, vague description, or missing payment setup can stop sales before they start.
By setting up your event information carefully on ME-Ticket, you ensure:
- Guests can easily find your venue.
- Posters grab attention and look professional.
- Descriptions inform and excite.
- Payments run smoothly and securely.
Final Thoughts
When it comes to event success, the basics aren’t just small details — they’re the foundation. Choosing the right venue, designing a clear poster, writing a compelling description, and setting up payments correctly are the building blocks of ticket sales and guest satisfaction.
With ME-Ticket, the process is simple, but accuracy is key. A correctly filled-out event page not only improves your visibility but also builds trust with your audience.
So, take the time to do it right. Verify your venue, create posters that match your theme, write descriptions that sell the experience, and connect your payments securely. These steps may feel basic, but they’re what transform casual browsers into excited ticket buyers.
Ready to set up your next event the right way? Head to ME-Ticket, fill in the details with care, and let your event shine from the very first click.